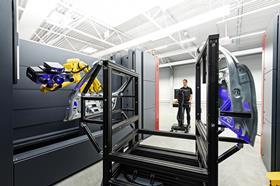
GOM develops, produces and distributes software, machines and systems for industrial and automated 3D coordinate measuring technolog, CT and 3D testing.
Optical measuring machines are replacing tactile measuring systems Optical 3D coordinate measuring systems capture more detailed and more easily interpretable quality information of an object with significantly shorter measuring times. Over 17,000 of GOM`s ATOS systems worldwide ensure the dimensional quality of automotive, sheet-metal, cast and injection-molded products.
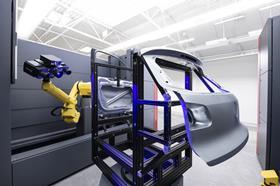
Process optimisation in press shops and production sites
Robustness, measuring speed and compensation for temperature fluctuations are convincing factors in production, enabling traceable results to be captured even under harsh conditions. As the ATOS ScanBox can be operated close to production, the work-intensive transportation of components can be omitted.
Tool and dies are measured at site, reducing tool try-out and production ramp up. Trim and spring back analysis of sheet metal components support first article inspection. Measuring results from press shop, bodyshop or suppliers can be merged centrally in the GOM Software. Prior to the physical assembly, information on gap and flush or functional dimensions can be evaluated. Measurements of whole BIW enable fast and efficient quality control.
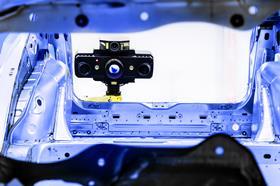
Taking measurement technology to a new level
Fast measurement times and high-precision data quality form the centre of the new generation of 3D high-speed scanners from GOM: ATOS 5 and ATOS 5X. For example: ATOS 5X in combination with the ATOS ScanBox Series 8 or ScanBox 6135/6235 accelerates a process by a factor of four when measuring and inspecting large and complex objects.
The automated measurement of a complete car body both outside and inside typically takes 30 minutes with ATOS 5X – including the precise coverage of complex geometries. The system enables the highest possible throughput, with the main application areas in Meisterbock and Cubing, inspection of complete vehicles and quality
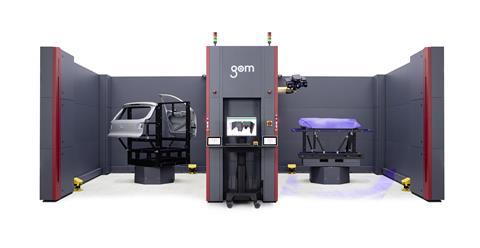
ATOS 5X
High-speed scanning
0.2 seconds per scan
Extremely bright laser light source
Resistant to ambient light conditions
High detail resolution
Low noise level and precise coverage of complex geometries
Large Volume 3D Scanning
Measuring areas up to 1000 mm
Shop floor metrology
Process safety in industrial applications
www.gom.com/atos-5X


