The latest inspection software suites can boost the performance of CMMs and enhance QC operations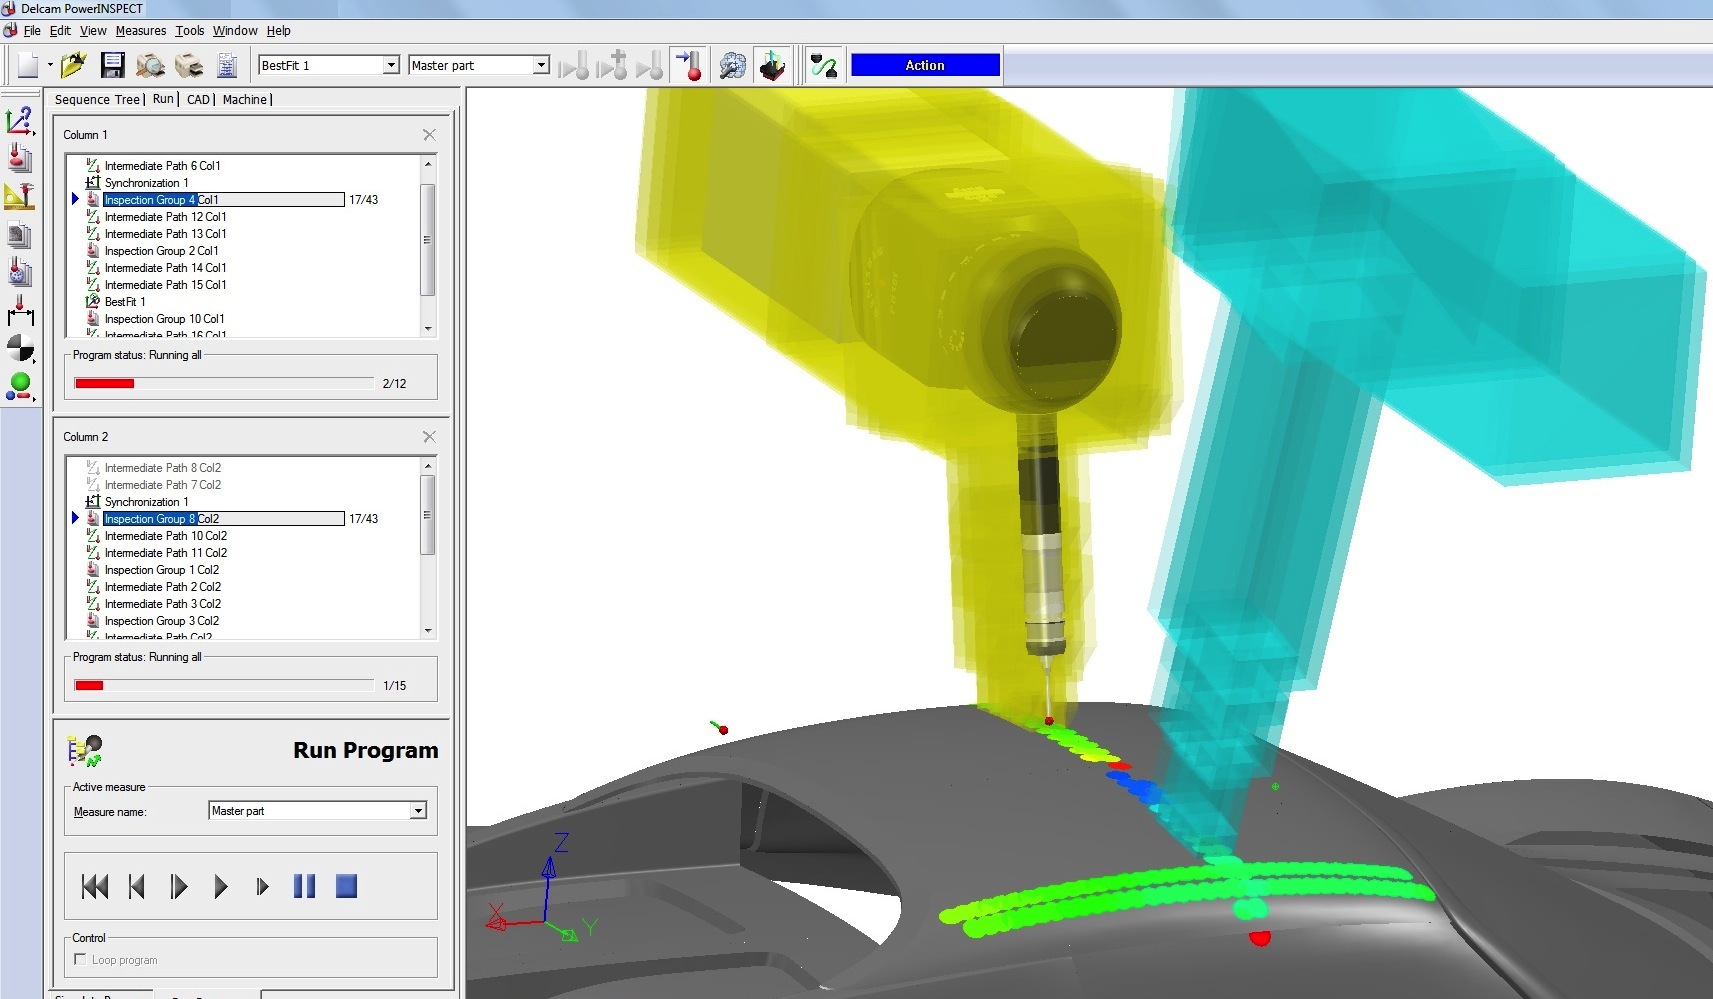
Behind all good measurement and inspection devices there needs to be a software platform that is able to facilitate greater speed, automation and ease-of-use. For example, the 2015 R2 release of Delcam’s PowerInspect software is said to make it easier to complete fast and accurate inspections of complex automotive assemblies. The new version includes more options for the automation of inspection sequences, including automated probe changes, automatic feature extraction for point-cloud batch inspection, and greater control over collision checking.
The main improvement for users of CNC coordinate measuring machines (CMMs) is the addition of support for MCR20 and FCR25 probe-change racks; the PowerInspect software can now incorporate probe changes into fully automated measurement sequences. Enhancements to the probe database allow the user to define probe tools in terms of ‘sub-assemblies’ which can be docked in the rack ports (a typical example of a sub-assembly is the combination of a probe module and a stylus). Once created, the sub-assemblies are allocated to specific ports in the probe-change rack, and the user defines the physical location of the rack on the CMM by measurement. The software carries out probe changes as required by the measurement sequence and keeps track of the sub-assemblies as they move between the probe head and rack.
Improving batch inspection
PowerInspect 2015 R2 also includes a new way of evaluating features from point-cloud data that makes batch inspection much easier. Geometric point-cloud features can be evaluated from suitable scan data, with features created in the usual way, either from the geometric toolbar or by using the wireframe checker. The entire sequence can be created in advance before the software automatically evaluates the results, as soon as the scan data is available. Operators measuring subsequent, similar parts just have to perform the scan and the sequence of features is evaluated automatically. Once scanned, all specified features are calculated and the report is updated.

Delcam has also recently introduced improvements for companies using PowerInspect for clay modelling, such as automotive design studios. New time-saving features make it easier for users to display the details of digitised curves, to switch between curves, and to select, edit and mark out points within the curves.
Handling fits and finishes at GM
PowerInspect has also proven to be a good fit with the quality-control requirements at numerous automotive OEMs, including General Motors. When GM engineers want to check the fit of various body panels, they often turn to the Design Check and Vehicle Assessment team at the Warren Vehicle Engineering Centre in Michigan. Here, the team is equipped with the latest in portable inspection and laser scanning technology, as well as Delcam software.
The Design Check and Vehicle Assessment team plays a critical role in making sure the fits and finishes between doors, door frames and body pillars, and the hinge alignments, are produced exactly as they were designed. The actual data is gathered as points with touch probes or laser scanners fitted to inspection arms from Romer Cimcore, and is used to check a rectangular array of lines a few centimetres apart on all the exterior parts. In addition, colour maps from PowerInspect are used to show deviations from the nominal CAD model within the surfaces. The colour maps also show whether any section of the surface is out of tolerance and, if so, by how much. This kind of data is very useful for stamping-die rework.
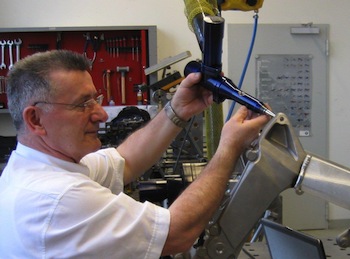 BMW has speeded up tooling-part inspection using PowerInspect
Inspecting welds at BMW
The Delcam software is also being used on two Zett Mess AMPG measuring arms which inspect chassis prototypes for BMW’s process-technology prototype development team. Welding distortions of 3mm are the norm and have to be eliminated in a continual process of welding, inspection, correction and re-inspection. In the past, the inspection process for some of the parts required up to two hours; now, with PowerInspect, it takes only five minutes, as the coordinates can be measured much faster. This provides significant time savings since up to five inspection passes are required per component.
Every measured point can be compared with the CAD data; the software immediately shows deviations within specified tolerances. In addition, the software documents each modification in such a way that it becomes clear in which direction a point has to be moved in order to implement a specific change.
The latest version of Hexagon Metrology’s PC-DMIS dimensional measurement software for CMMs also claims to deliver many improvements to the user experience, including a redesigned execution timer that is more accurate and respects partial execution. Furthermore, improved probe animation helps offline programming efficiency, while a new ‘QuickGD&T’ selection speeds up measurement routine building by creating all of the necessary features, datum definitions and dimensions with a single click.
The new execution timer helps automotive quality engineers measuring lots of similar parts by showing the time remaining for each run in the execution window. Users simply start the measurement routine and walk away, then return just in time to load another part, allowing for greater flexibility and efficiency.
PC-DMIS 2015 also enables users to simulate a point cloud for offline programming, using defined parameters for laser probe orientation, scan line width and density. This function projects laser lines onto the CAD model. Simulation can be shown for the entire measurement routine using the execution controls, allowing verification that other operations are completed correctly. The software will automatically mesh the point cloud in the graphics display during scanning, permitting users to see areas where more scanned data may be needed.
Retrofitting software to existing devices
The Ford body and assembly plant in Cologne, Germany, has been using PC-DMIS since a decision to retrofit the software to existing metrology devices. The process for writing the measuring programmes begins with the drawing up and agreement of a test plan. This plan is passed to offline programmers, who import the data into PC-DMIS before the offline measuring programme is sent to the online pilot machine, where it is trialled and edited.
The integration of the interfaces is an important step here, otherwise the processes will not run smoothly. In a model series with three bodyshell types – four-door, five-door and estate – there can be 70 to 80 CMM programs, which are not only programmed online, but require reporting routines.
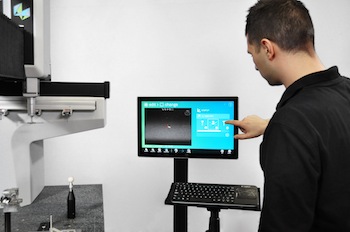 PC-DMIS from Hexagon Metrology is designed to be user-friendly
The software delivers a significant advantage online as well as offline – there are no interface problems between the two shops, and no more programmes to convert. In addition, operators have the same user-interface and can work on the same files and send them between one another.
The latest offering from Renishaw for simplifying the programming of coordinate measuring machines (CMMs) is Modus 2. The user experience for the software is designed to be identical whether it is connected to a ‘live’ CMM or working in an offline environment where full simulation with speed control allows measurement sequence development and visualisation.
Further innovations include ‘Off Surface’ motion technology, intelligent measurement strategies, automatic reporting and an interactive virtual CMM environment. From simple, manual machine operation through to complex part measurement on multi-axis systems, Modus 2 adapts automatically and only offers functionality relevant to the current task.
The computer-aided design (CAD) import and graphics controls in the Modus 2 toolbar provide access to loading part and fixture models. The inspection sequence displays a series of ‘nodes’ where each node has associated properties that represent underlying functionality. In the case of a geometric feature, the node contains everything to do with its definition, measurement and reporting. Intelligent extraction of CAD data and knowledge of underlying geometry determines the measurement strategy for the selected feature.


