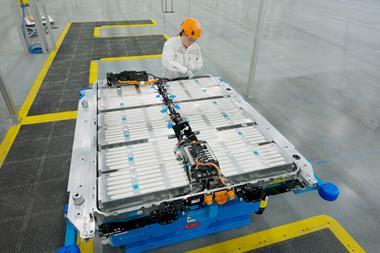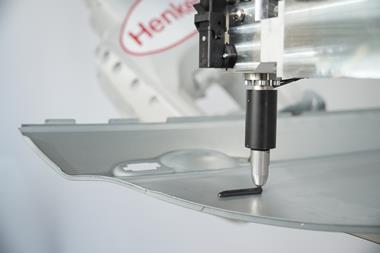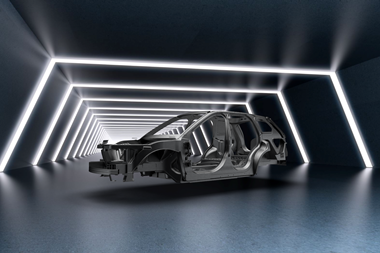
Camera-based machine vision systems enable more consistent detection of defects during the surface and contour inspection for components produced from all kinds of materials
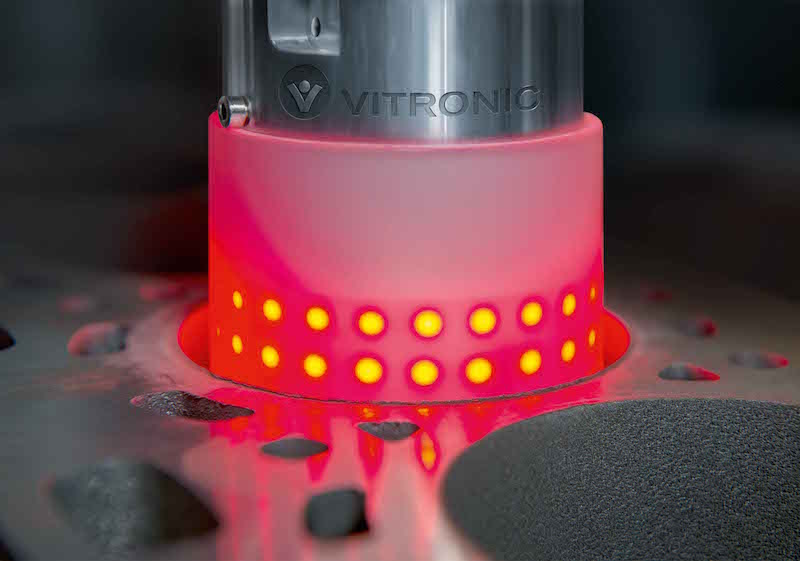
In industries such as automotive manufacturing and the supply sector, final inspections are often done by the naked eye. This brings problems such as fatigue in the human eye, inconsistent inspection quality and an inability to determine the extent of the defect. A reproducible machine vision system that works reliably and efficiently delivers fast, documentable inspection results is Vinspec by Vitronic.
Vinspec Robot Cell
This flexible optical surface inspection provides for automatic quality inspection of metal castings. Robot cells designed with Vitronic Vinspec detect defects in the visible, sealing and functional surfaces of metallic components. They ensure cost-efficient production and make sure that only components with optimum product quality leave the production line.
In the metal working industries such as the automotive manufacturing and component supply industries, it is not unusual to still inspect workpieces only by eyesight. This is risky because the performance of the human eye with short clock times is limited when it comes to detecting minor or borderline defects in a dimensional perspective and eye fatigue sets in quickly. Automated quality inspection is a more efficient and cost-saving way of detecting poor quality components such as cylinder heads or crankcases which may cause failures later during functional operation.
Vinspec inspection systems as robot inspection cell
A leading German automobile manufacturer of high-end vehicles is using Vitronic inspection systems as robot cells in the production of engine components.
Depending on the specific inspection tasks and the dedicated on-site requirements Vitronic developed a customer-specific flexible end-to-end solution. In addition to mechanical components, a conveyor system, and machine control, the end-to-end solution includes a combination of cameras, lighting units, and a computing unit. Vitronic engineers used selected sensor systems for the inspection task, customised for standard use using our proprietary machine vision software. Finally, the engineers integrated the optical inspection concept used in the project with a flexible automation solution for the entire inspection cell.
The use of standard components such as robots and conveyor systems enabled efficient quality and surface inspection of a wide range of components.
Robot cells are highly cost-efficient. It is possible to change component types during running production without stopping, simply by changing the inspection software and robot programme, further increasing cost efficiency.
The Vinspec inspection cells were integrated into a standalone station between two production systems and interfaced with the conveyor system. Vitronic based its conveyor system design on the conveyor system of the automobile manufacturer for a unified system across the entire production line.
Confident handling of a variety of inspection tasksThe finished robot cell concept inspects machined surfaces for the automobile manufacturer, such as the interior surfaces of drilled hole of components using an internal inspection sensor. A customised robot gripper combined with 2D and 2½D sensor technology enables flexible visual robotic inspection. In addition to a more objective defect classification in dimensional view, this provides a higher detection rate on surfaces that are not visible with the goal of zero-defects.
Vinspec detects not only defects on visible, sealing and functional surfaces as well as contour and processing faults using high-resolution matrix and line scan cameras, but even the tiniest defects down to 0.1 mm x 0.1 mm. Intelligent image acquisition technology helps eliminate pseudo defects caused by dirt or water stains on components.
Optical surface and contour inspection while production lines are runningCamera-based surface and contour inspection using Vitronic Vinspec machine vision systems enables the detection of defective components during the production process and their withdrawal from production if necessary.
This allows you to implement a cost-effective quality inspection and reworking concept. Vinspec solutions are used in many applications of the automotive manufacturing and component supply industries, for example:
• Cylinder head inspectionThe inspection of cylinder heads for shrinkage cavities, pores, damage, and the presence and position of valve guides and valve seat inserts takes only 25-30 seconds.
• Crankcase inspectionThe inspection covers combustion chamber, oil pan, and cylinder surfaces as well as inspection areas such as bore holes of oil seals and crankshaft bearings for shrinkage cavities, pores, and damage such as cracks, scratches, and porosities – in only about 25 seconds.
A further Vinspec solution has been developed for 3D shape inspections.

Vinspec 3D InlineThis fully-automated inline quality control system with 3D scanner was first installed in 2016. It is robust, accurate 3D geometry and surface inspection for the most diverse materials and surfaces in the production cycle. It provides stable, robust scanning regardless of environmental conditions with minimum cycle time and high throughput. Vitronic’s innovative, flexible 3D scanning solution Vinspec 3D Inline makes it possible.
Components of all kinds of materials, for example, complex castings (eg. engine block casting with small dimensional tolerances) are inspected by the 3D scanner simultaneously from all sides for surface defects and geometric deviations. One of the first of these systems was installed as a turnkey solution in the foundry of a major automobile manufacturer. Integrated in the production line, the system inspects crank cases for integrity of external geometries; existence of component openings, and damage and defects (for example, dents).
In this process, the sides of the component are scanned simultaneously and each is captured as a 3D point cloud. The point cloud is compared to the 3D model (from the master part) stored for each side and deviations are determined. Flexible, Cartesian-rectangular sections can be defined for each side view. Various tolerance limits for these sections can then be specified in terms of width, length, depth, and volume. This robust inspection method is resistant to component contamination and is extremely stable when surfaces change. The 3D scanner can be used almost anywhere geometric deviations must be detected.
In addition to functioning as a stationary scanning solution, it is possible to connect the 3D scanner to a robot.


