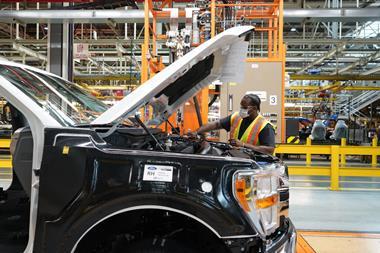
 As automotive manufacturers and suppliers continue to produce components with more intricate structures it proves impossible to inspect them comprehensively with standard surface measurement. Yet the crucial task to verify the structure and dimensions remains.
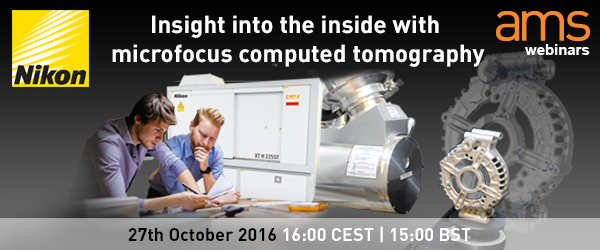
In this webinar, we looked at solutions provided by microfocus computed tomography (CT) such as: non-destructive inspection, full 3D internal and external visualisation, micron accuracy and structural integrity.
We outlined how X-ray and CT solutions can help to refine prototyping or manufacturing processes and explore the advantages of high flux microfocus X-ray sources, CT automation and configurable CT systems.
Thursday 27 October | 16:00 CEST | 15:00 BST | 10:00 EDT | 09:00 CDT
This webinar was presented by:
Andrew Ramsey is the senior CT specialist in the X-ray Centre-of-Excellence of Nikon Metrology. A Cambridge graduate, Andrew has experience with X-ray and CT technology through X-Tek Systems Ltd, part of the Nikon group. Andrew has an excellent knowledge of how CT is applied in solving product quality issues.
About NIKONNikon Metrology – part of the Nikon Group – offers an extensive metrology product portfolio, including CMM and laser-scanning solutions complemented with large scale metrology, state-of-the-art vision measuring instruments and microscopes. These innovative measuring and precision solutions respond to the advanced inspection requirements of manufacturers active in consumer, automotive, aerospace, electronics, medical and other industries. Nikon Metrology contributes to a high performance manufacturing process that allows companies to deliver premium quality products in a shorter time.


