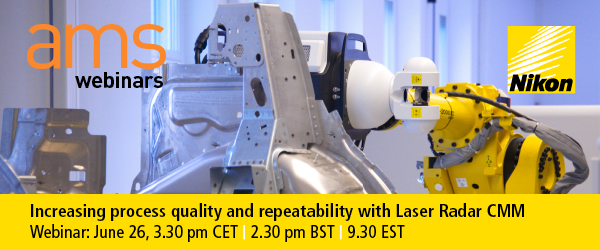
High-end manufacturing requires reliable quality information fed back into the production process. The availability of this information during prototyping, ramp-up and the main build process is key to reducing time-to-production and increasing process quality and repeatability.
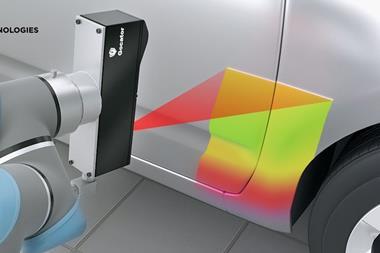
The Nikon Metrology Laser Radar CMM solution encapsulates these requirements to provide fast, CMM quality measurements, on the shop floor. It is a unique alternative to the traditional car body inspection methods, providing accurate, absolute measurement data anywhere in the factory.
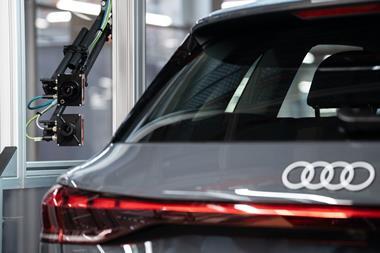
Using real life application examples from the automotive industry, this webinar will illustrate the real added value of this next-generation CMM inspection solution: fast inspection, accurate data, absolute measurements and integrated with leading software packages.
About the presenters:
This webinar is presented by Paul Lightowler, Laser Radar Product Manager, Nikon Metrology
Paul has more than 10 years of automotive, aerospace and large scale metrology experience. Along with his team, Paul has worked with key Automotive OEMs and integration partners to develop a new approach to production inspection using the automated capabilities of the Laser Radar.
About Nikon Metrology
Nikon Metrology – part of the Nikon Group – offers an extensive metrology product portfolio, including CMM and portable laser-scanning solutions complemented with large scale metrology, state-of-the-art vision measuring instruments and microscopes. These innovative measuring and precision solutions respond to the advanced inspection requirements of manufacturers active in consumer, automotive, aerospace, electronics, medical and other industries.
Nikon Metrology contributes to a high performance manufacturing process that allows companies to deliver premium quality products in a shorter time.
For more details see www.nikonmetrology.com


