LMI Technologies looks at custom non-contact engine volume gauging for tier one and tier three component suppliers

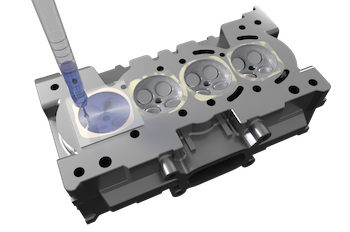
For automotive component suppliers who need to verify high tolerances on medium-sised internal combustion engines (ICEs), LMI has designed a 3D non-contact inspection method to replace manual measurement approaches. This automated non-contact 3D solution, called Gocator Volume Checker, leverages several technologies to achieve high-speed, accurate volume measurement of engine cylinder heads and piston bowls. See Fig 1.
Engine volume gaugingVolume gauging is an important application in engine development. Each cylinder in an engine block has to be measured for correct combustion volume. While CAD data can be used to determine nominal volume, compliance testing requires the acquisition of a large number of measurement points, their connection by line or curve approximation, and finally computation of volume displacement.
Contact-based methodsTactile coordinate measuring machines (CMMs) can accomplish volume gauging with a high degree of accuracy. However, this method can take more than two minutes per chamber, and all chambers need to be measured.
As a result of the slow speed and high cost of CMMs, the vast majority of manufacturers use liquid (a technique known as litering) to measure engine volume. Acoustics and pressurised air are less commonly used contact-based methods. See Fig 2.
All three of these traditional methods are time-consuming, because there is significant setup time involved and only one cylinder can be measured at a time. Additional time is required for clean up after measurement is completed.
 Fig 2: Approximately 98% of manufacturers currently use litering to gauge the volume of engine cylinder heads
Optical advantage – structured lightOptical methods based on structured light (fringe projection) offer a 3D scanning method that is non-contact and area based. 3D scanning with this method is significantly faster (seconds, not minutes) and produces much higher density 3D data, representing a more accurate shape of the part.
Snapshot sensors are a common device that deliver this type of 3D scanning technology. A structured light 3D snapshot sensor projects a line pattern onto the cylinder head of an engine block. The line pattern is recorded by a camera from an optimal angle, yielding information on the cylinder’s surface topology calculated from the deformation of the projected lines.
There is a significant advantage to using structured light for quality inspection. Namely, when blue-LED stripes with smooth value gradients are projected and moved across the engine block in close steps, the analysis of these values allows for a magnitude better position resolution than the single point measurement typical of CMM probing methods.
Stripe pattern projection provides coordinate resolution down to 1/50 of the projected stripe width. This means the cylinder head can be fully inspected with the acquisition of just a few dozen images with slightly shifted stripe positions (ie. phases), which can be accomplished in just a few seconds.
Volume Checker can be broken down into several components in order to get a deeper understanding of its design. These components are highlighted across the centre of the page in Fig.3.)
The building blocks of Gocator Volume CheckerGocator 3210 Snapshot SensorGocator 3210 is the hardware platform of the Volume Checker solution. The 3210 is a metrology-grade, inline ready snapshot sensor that scans at 35 μm resolution, and is ideal for detecting features on large targets such as automotive cylinders.Some of its notable features include:• Fast scan rate (4 Hz full-field)• Stereo camera design that minimises occlusions• Small form factor for easy system integration• Wide field of view (FOV) up to 154 mm
 Fig 3: Gocator 3210 Flowchart
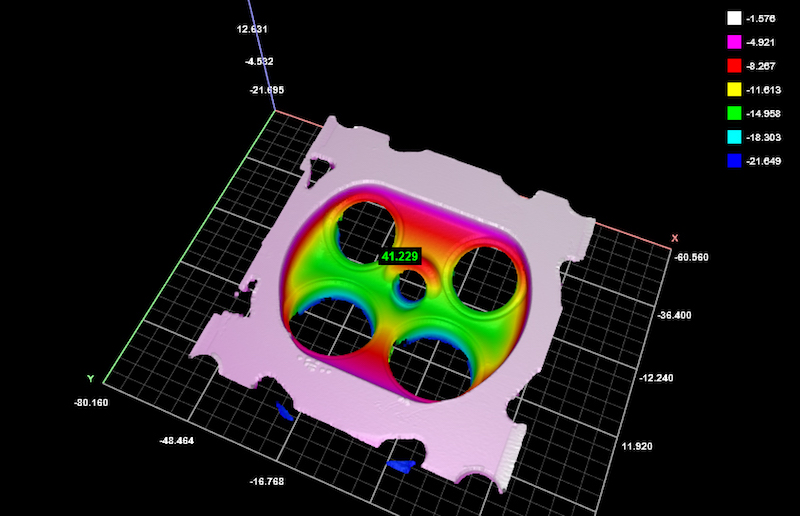
 Fig 4: Raw 3D scan of cylinder head using Gocator 3210
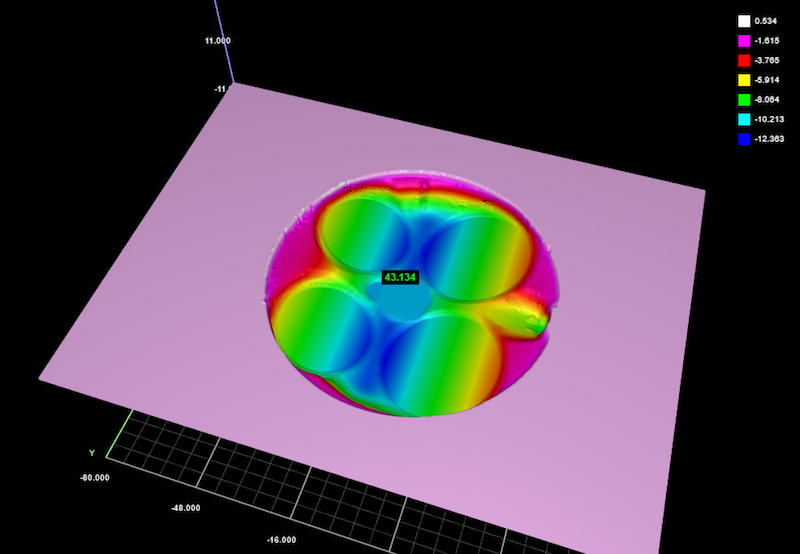
Gocator Accelerator (GoX)Gocator Development Kit (GDK)The GDK allows developers to embed their own custom measurement algorithms into the Gocator firmware. In the case of the Volume Checker, LMI has embedded a custom volume gauging tool that can scan and measure cylinder heads in less than 5 seconds at an accuracy of +/- 0.04 cm3.
Another advantage of Gocator Volume Checker is that manufacturers aren’t required to cover the cylinder head valves before executing volume measurements. In contrast, valve coverage is a standard requirement when using traditional techniques such as litering. The GDK’s built-in custom Volume tool ‘caps’ all openings to produce accurate 3D volume data of the chamber, without the need for manual intervention. This capability saves additional setup time as a result.
GoX is a key part of the Volume Checker solution. This PC-based application accelerates the Gocator 3210 sensors by redirecting compressed 3D scan data to a PC – for unpacking and analysis – to achieve the fast cycle times required for inline engine block inspection.
 Fig 5: Post-GDK cylinder head volume calculation data
Master Hub 810 for Multi-Sensor ControlThe Master Hub 810 network controller simplifies the support of multiple sensors (up to 8) by handling power, synchronisation, laser safety (for laser-based sensors), encoder, and digital I/O. A Master 810 is used to support the Volume Checker when you want to use 4 such sensors to scan and measure 4 cylinders at once.
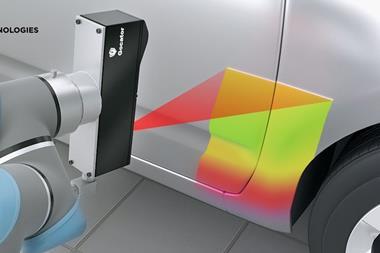
ConclusionGocator’s flexible platform allows LMI to customise standard sensors to meet specific application requirements. This approach is the next step in robust automated quality control, where 3D smart sensors are configured to perform highly specialised inspection tasks to replace manual measurement processes and achieve higher throughput and accuracy.


